

-
Written By Evren Cole
-
Updated on July 13th, 2026
Import PST Files to Office 365 for Microsoft 365 Administrators
User Query: I need to import PST files into Microsoft 365 for seven user mailboxes after migrating from Rackspace Email. The Microsoft 365 tenant and mailboxes are already set up, and I want to preserve emails, contacts, calendars, and attachments. I’m considering Microsoft’s PST Network Upload service, but I’m also evaluating third-party PST import tools. A tool that supports incremental imports after the MX record change would be useful. Which option is more reliable and efficient for a small Office 365 migration?
Summary:- Importing PST files to Office 365 is a common task for Microsoft 365 administrators, especially at the time of email migrations or onboarding new users. Opt the right method can be difficult, as both Microsoft’s built-in tools and professional software, the MSOutlookHelp PST to Office 365 Migration Tool, have their own advantages. This guide explains the available options for import PST files to Office 365, their limitations, & how to import PST files safely and efficiently.
Why Import Outlook PST Files to Office 365?
PST files are used to store mailbox data from Outlook or older email systems. Moving them to Office 365 brings emails, contacts, and other mailbox items into one place. Moreover, this makes it easier for users to access their data from any device. Help administrators to manage their mailbox data more efficiently.
Manual Methods to Import PST to Office 365
There are various methods through which you can import your PST files to Office 365. See the methods below and choose the one that is suitable for you based on the requirements.
- Microsoft PST Network Upload
- Drive Shipping
Limitations of the Manual Methods
- Uploading large PST files can take a long time, especially on slow internet connections.
- The process involves multiple steps, which include upload files to Azure Storage.
- The user cannot access mailbox data until the import process is complete.
- CSV mapping requires careful attention. Incorrect mapping can cause import failures.
- The service imports only PST files. It cannot migrate PST to Office 365 directly.
Advanced Method to Import PST Files to Office 365
PST to Office 365 Migration Tool is a simplified software that can directly move your data to Office 365. This software is designed with a user-friendly interface so that a non-technical person can also use this software. It allows users to import single or multiple files at the same time. Also, it allows users to import PST files to Exchange Server. This makes sure to preserve the emails, attachments and other mailbox data. While you perform the migration, there is no need for Outlook dependency.
|
Simple Steps to Import PST to Microsoft 365
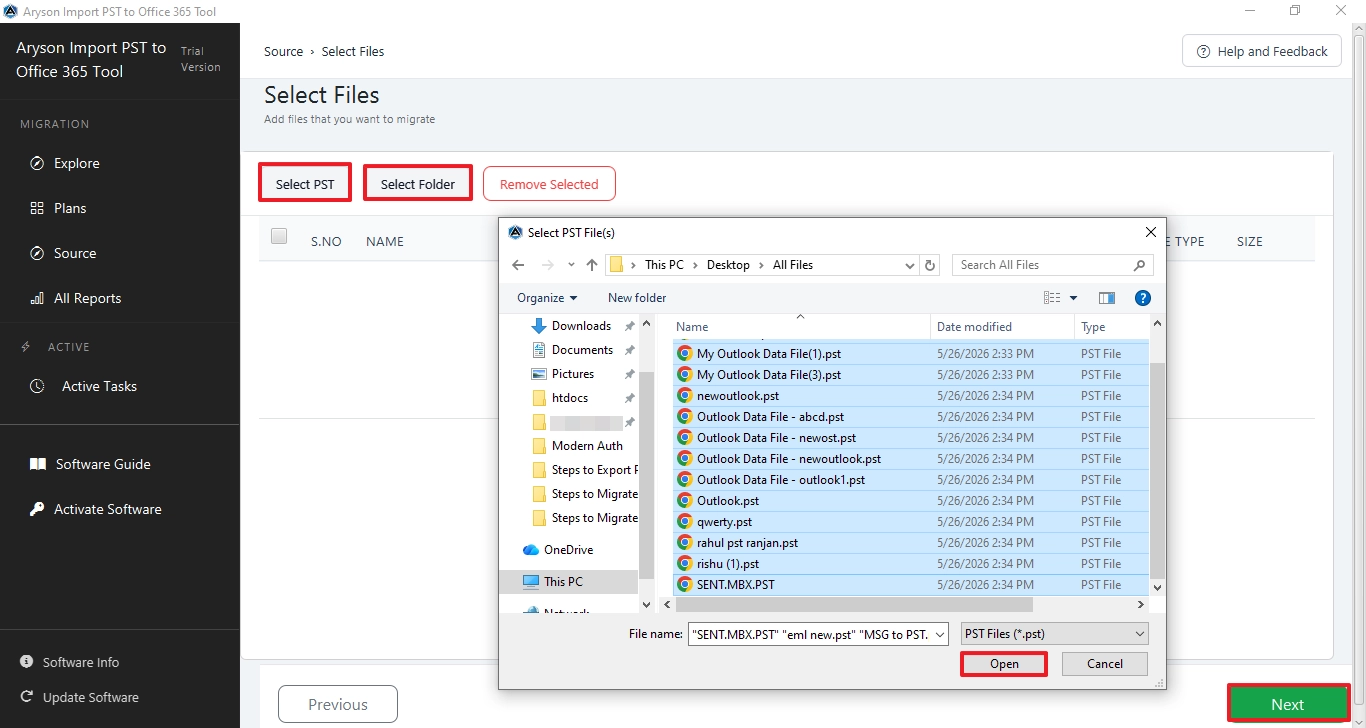
- You have to download the software and click on PST Migration.
- Select PST/Folders, then from the device select PST files and click on the Open button.
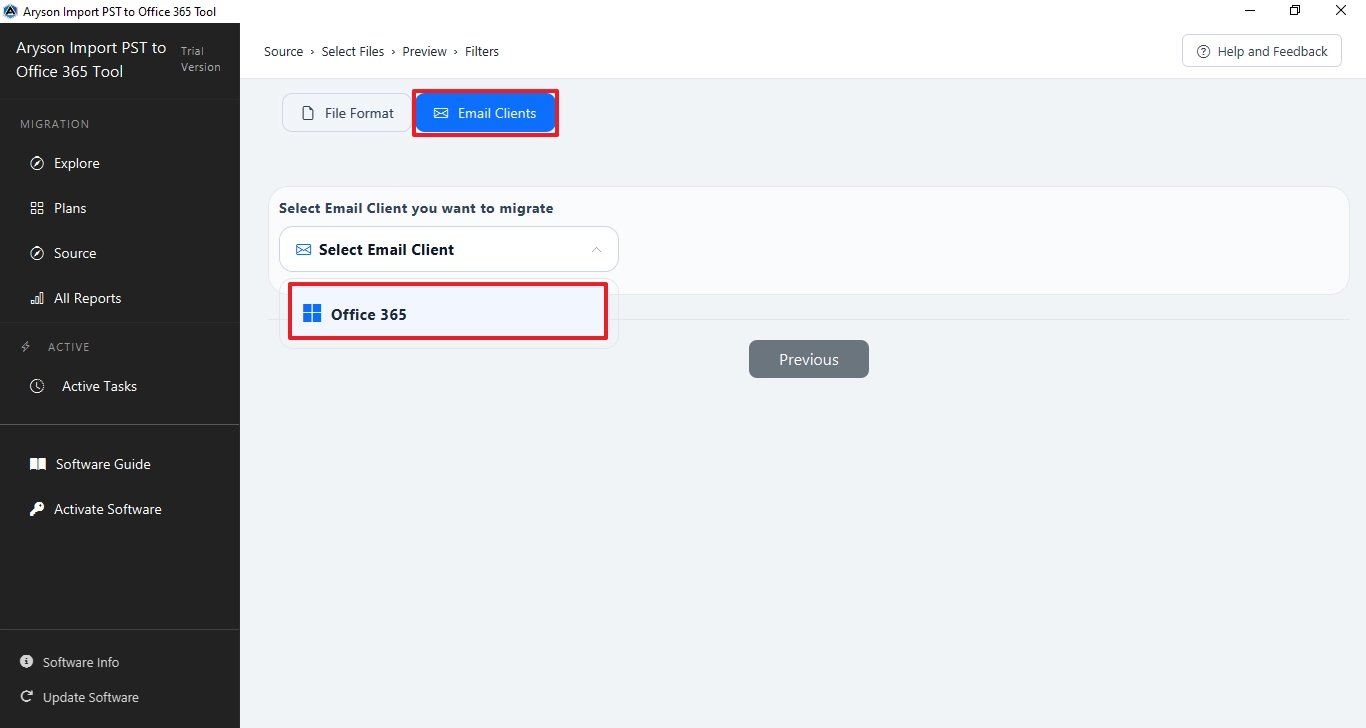
- From the top, click on the email client and select Office 365.
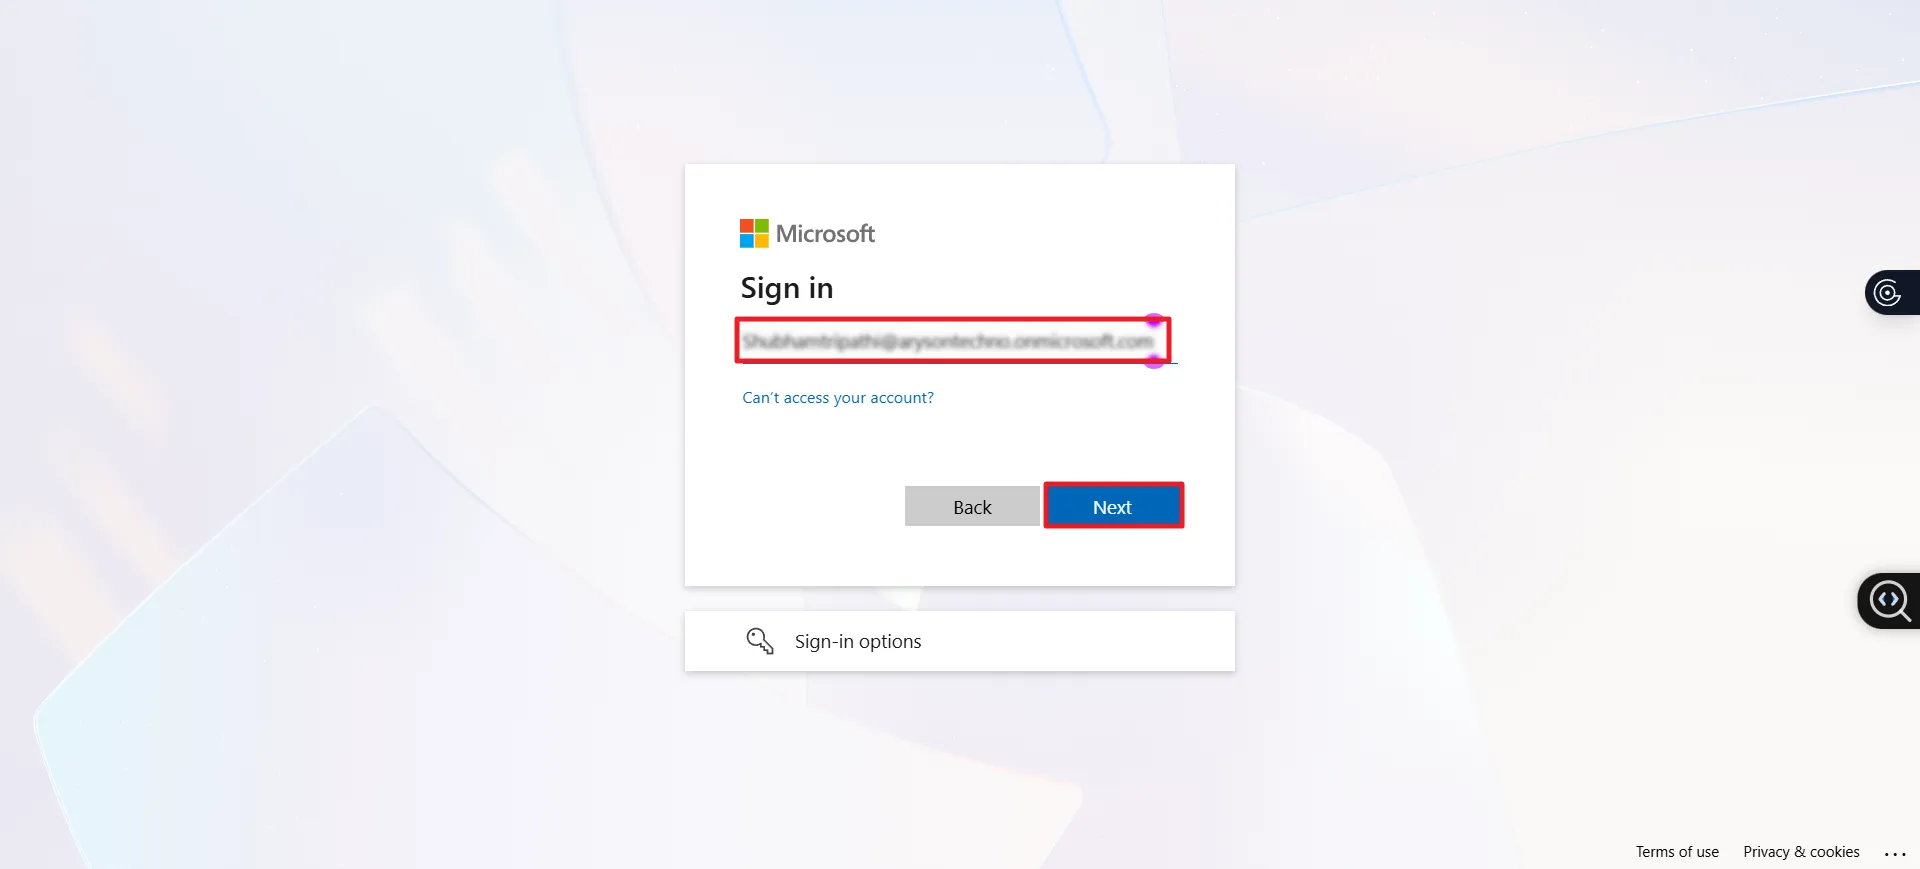
- Choose Single or Admin user and then click on Add Connection.
- Then, provide the login credentials for the Office 365 Account.
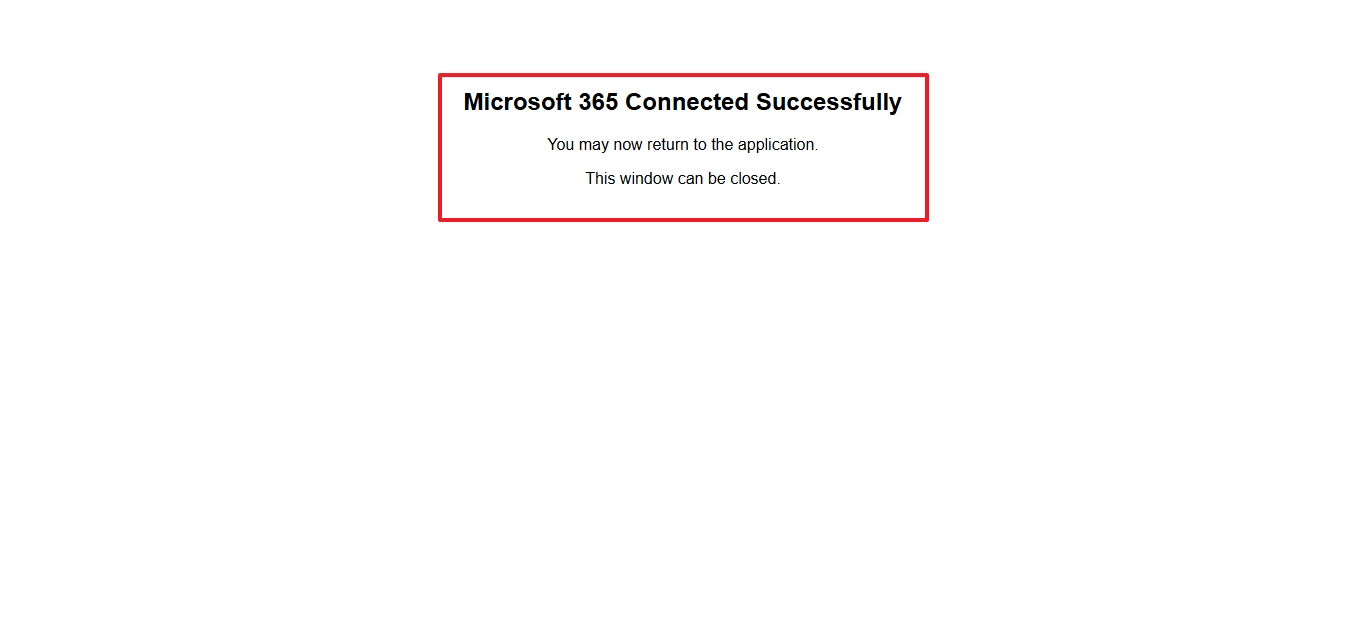
- You can return to the software after successful authentication.
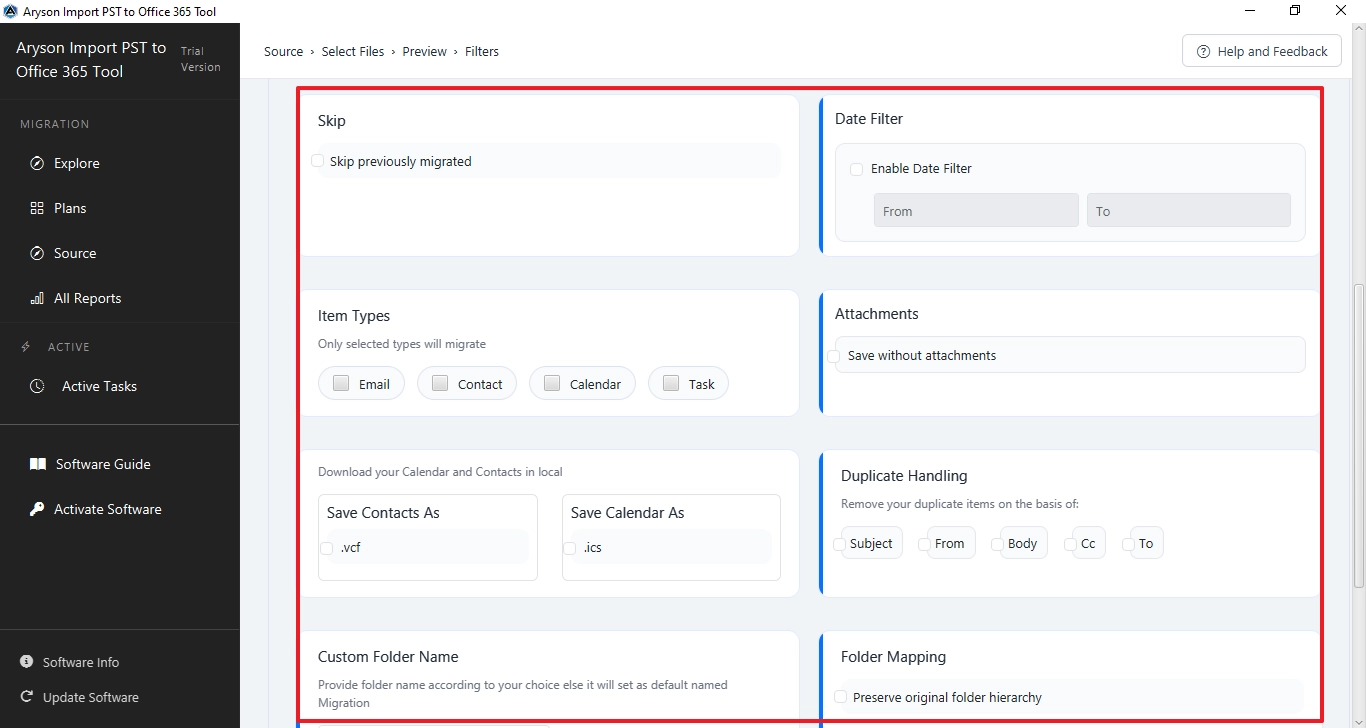
- Enable the additional filter options for selective migration and click Start Migration.
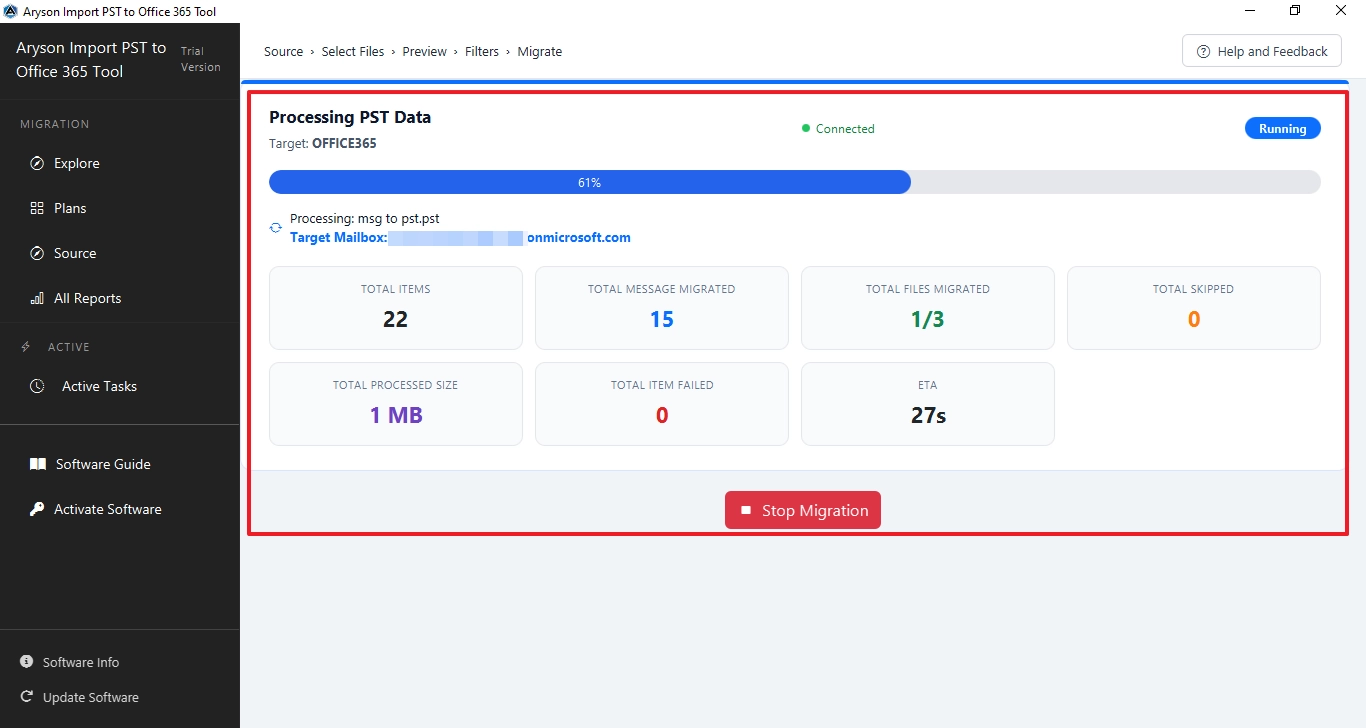
- You can monitor the process and see the detailed report under the All Reports section.


Conclusion
In short, importing the PST files to the Office 365 is simple when you understand the whole process. The available manual method is good but it has some limitations. Therefore, for batch import PST files to Office 365, it is recommended to use a professional software that will maintain the hierarchy. With the correct approach, you can perform the smooth migration and manage data easily.
Frequently Asked Questions:
Q1. What should I check before importing PST files into Office 365?
Ans. Before you import PST files into Office 365, verify that the Microsoft 365 mailboxes are already created and licensed. Check that the PST files are healthy and not corrupted. Ensure you have enough mailbox storage and administrator permissions. It is also a good idea to back up your PST files before starting the import process to avoid accidental data loss.
Q2. How can businesses avoid duplicate emails when importing PST files to Microsoft 365?
Ans. To reduce duplicate emails, keep a record of the PST files that have already been imported. If you need to perform another migration after the initial import, export only the newly received mailbox data instead of importing the same PST again. Many professional PST migration tools also include duplicate email detection, which helps prevent duplicate items during repeated imports.
Q3. What is Delta Migration, and is it useful when migrating PST to Office 365?
Ans. Delta Migration transfers only the new or modified mailbox items after an initial migration. It is useful when users continue receiving emails before the final migration cutover. Since Microsoft’s PST Network Upload does not support true delta migration, administrators often use professional migration tools that can import only newly added data and avoid migrating duplicate items.
Q4. What is the best and trusted method to import PST files to Office 365 for Business and IT Admins?
Ans. The right method depends on your migration requirements. Microsoft’s PST Network Upload is a reliable option for organizations that prefer Microsoft’s built-in import service and are comfortable with its multi-step process. For businesses that need batch imports, easier mailbox mapping, filtering, or incremental migration capabilities, a trusted PST to Office 365 migration tool can simplify the process and reduce administrative effort.
Q5. How do I import a PST file into Office 365 Outlook Web Access (OWA)?
Ans. Outlook Web Access (OWA) does not provide a feature to import PST files directly. To move PST data into Office 365, you must use Microsoft’s Import Service, Outlook desktop, or a professional PST migration tool. Once the import is complete, the mailbox data becomes available through Outlook on the web (OWA).
Q6. Will importing a PST file overwrite existing Office 365 mailbox data?
Ans. No. Importing a PST file does not overwrite the existing mailbox content. The imported emails, contacts, calendars, and other mailbox items are added to the selected mailbox or folder. However, importing the same PST file multiple times may create duplicate items unless you use a migration method or tool that supports duplicate detection.
About The Author:
Evren Cole is an expert in Email and Data Management. She has a strong passion for technology and entrepreneurship. In her free time, she enjoys football, music, and reading books.
